
The process of registering as an Amazon seller is simpler than most expect. In many cases, you can finish the initial sign-up within a few hours. After that, Amazon will ask you to verify your identity as the main contact for your business, which typically takes no longer than three business days.
Choosing Your Email and Password
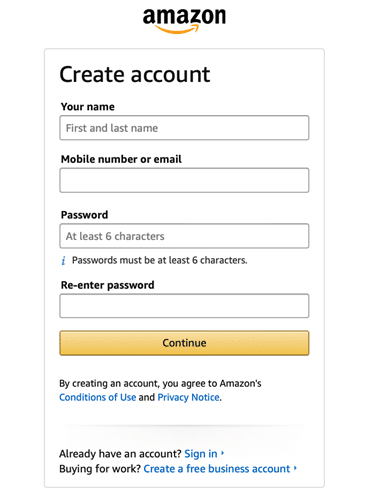
To begin, head over to sell.amazon.com and click on Sign up. Amazon will prompt you to create an account using your email and password. It’s best to use a separate email address from your regular Amazon shopping account.
If you already have accounts with Amazon Brand Registry, Amazon Ads, or Vendor Central, you should use the same email address to keep everything synced. When creating your Amazon seller account, you’ll enter your name, email, and password before moving on.
Step 1: Enter Business Information
Your first step is to provide Amazon with basic details about your business:
- Business location: The country where your business is registered, or where you’re operating if you’re an individual.
- Business type: Choose from public, private, charitable, or individual.
- Business name: Enter the exact name registered with your government authority.
- Company registration number: Add the unique number tied to your business license (not your EIN).
- Business address: Provide the official address on your business license.
- Phone number: Enter your active contact number including country code.
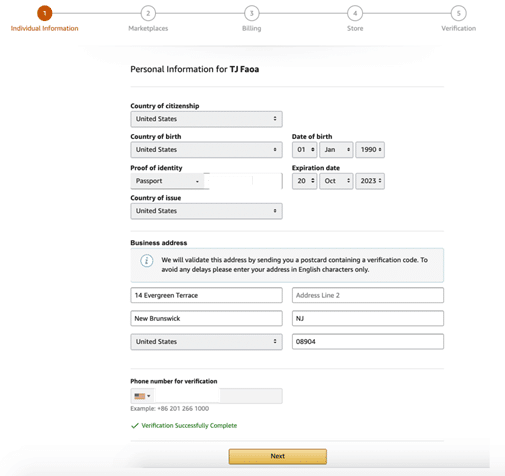
Step 2: Add Seller Information
Next, Amazon requires details about you as the primary seller or representative. Use a government-issued ID such as a passport to provide:
- Full legal name (including middle name)
- Country of birth and citizenship
- Date of birth
- Current residential address
You’ll also be asked for a phone number (and optionally, an additional number). Finally, you’ll confirm whether you are the beneficial owner, legal representative, or both for the business.
Step 3: Enter Billing Information
Now it’s time to set up your financial details. Provide your bank account information where Amazon will send your earnings. You’ll also need to add a valid credit card for handling fees and charges.
Step 4: Store and Product Details
In this step, you’ll create your Amazon store name, which customers will see on your product listings and seller profile. You’ll also share information about:
- Product identifiers (like UPC codes)
- Any business certifications
- Whether you’re a manufacturer, brand owner, or reseller
Step 5: Identity Verification
Before Amazon approves your account, they will verify your identity. You’ll be asked to upload:
- A government-issued ID
- Proof of address (such as a bank or credit card statement from the past 180 days)
Depending on your case, Amazon may require you to:
- Submit a photo of your ID and your face, or
- Join a live or scheduled video call with an Amazon associate.
Make sure to have your documents ready during this step.
Configure Your Account and Start Selling
Once approved, you’ll gain access to Amazon Seller Central, the dashboard for managing your business. From here, you can:
- Add team members to your account
- List products and set prices
- Manage inventory
- Fulfill customer orders
- Track performance metrics
With your account set up, you’re ready to begin your journey as an Amazon seller.